树莓派4B Linux的底层驱动编写体验
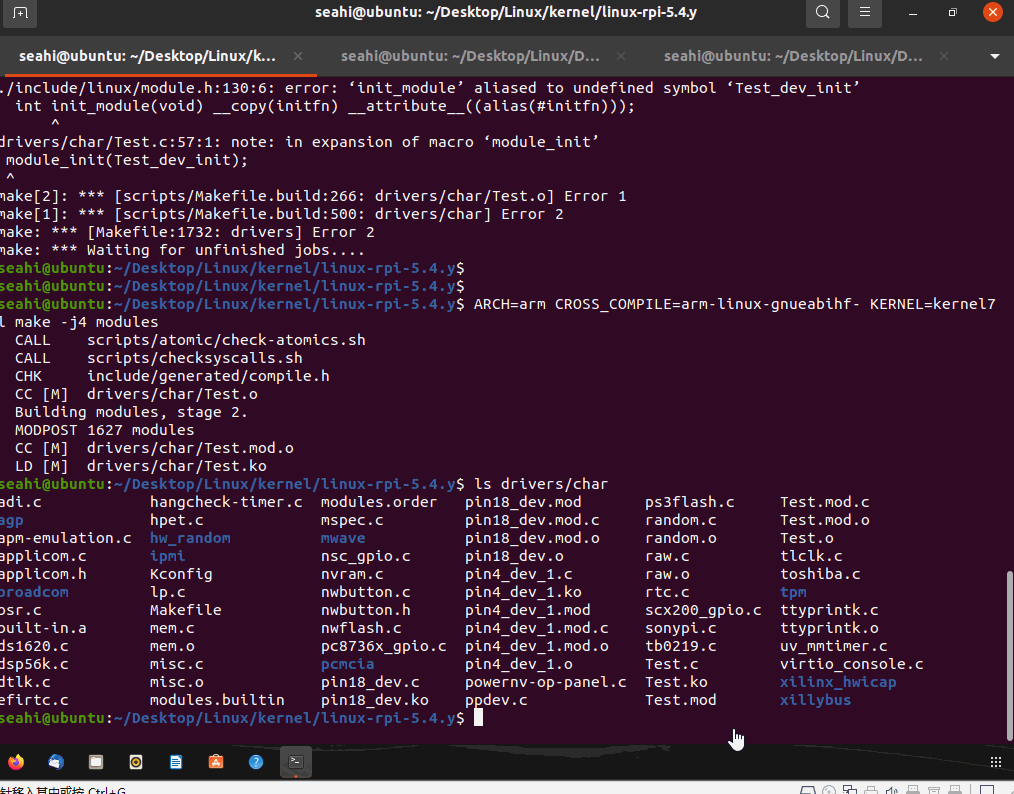
 然后根据提示修改错误,我这里提示36行附近少了分号 “;” ,结构体没加分号,修改后再次编译:
 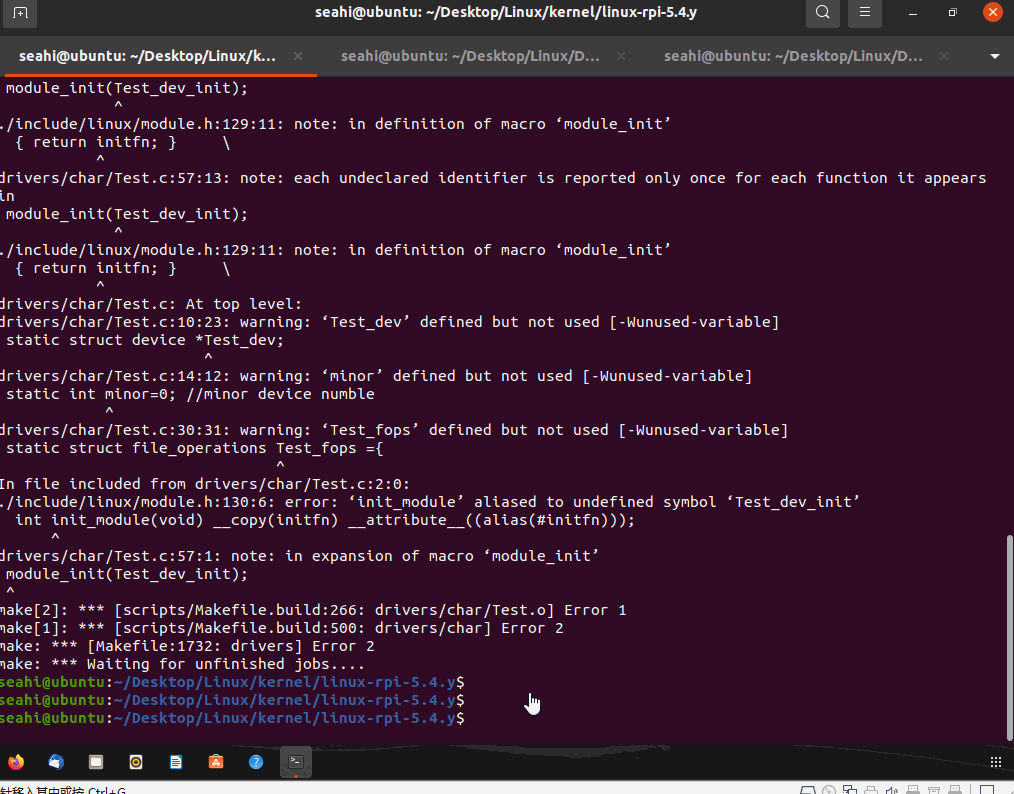 编译成功之后会在 /drivers/char/ 目录下生成一个以 .ko 为后缀的驱动模块文件,使用 scp 指令把这个 xxx.ko 驱动模块文件发送给树莓派:
 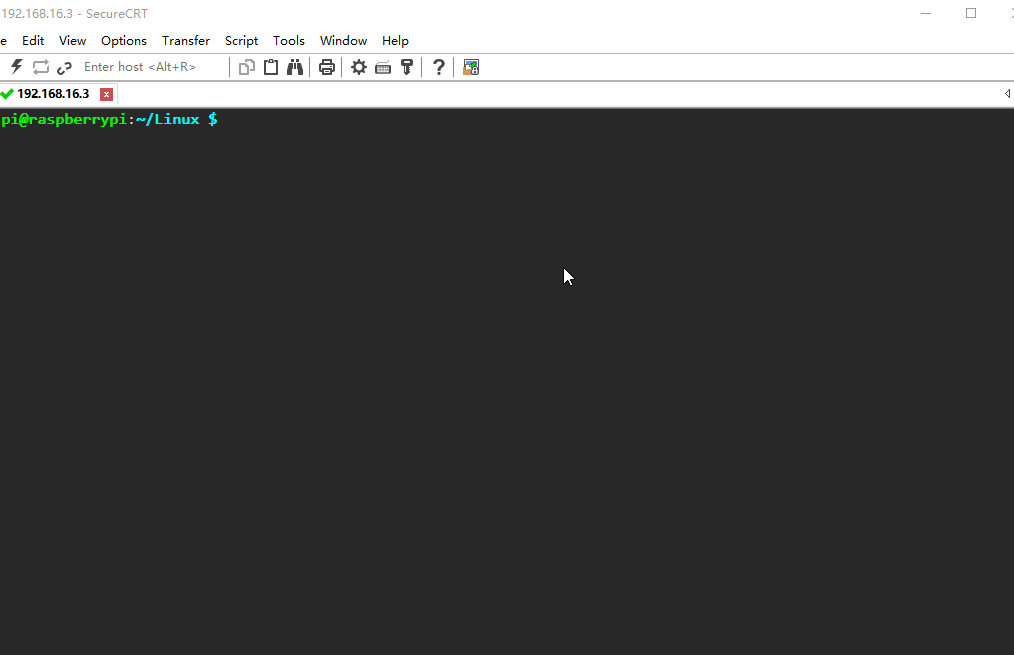 如果安装完后,使用 ls /dev/xxx 指令没有相关的模块的话,请检查驱动程序中创建类函数中的第二个是否都是小写字母:
  注意:这个参数不能和其他模块有冲突;否则也会安装失败。可以
发布日期:2021-05-08 12:50:09
浏览次数:20
分类:精选文章
本文共 3230 字,大约阅读时间需要 10 分钟。
一、编写前的准备工作
本博客是在虚拟机中编写驱动程序,然后交叉编译到树莓派。所以需要确认几件事:
1. 确保树莓派的内核版本和虚拟机中的Linux内核版本保持一致,否则无法安装驱动; 2. 虚拟机中有交叉编译工具; 3. 对于树莓派4来说,交叉编译驱动模块的时候,KERNEL=kernel7l,树莓派2、3代KERNEL=kernel7;二、驱动程序编写
驱动的编写同样会根据上一篇博客()的框架来写:
1.构建 file_operations结构体
#include#include #include #include #include #include #include static int Test_open(struct inode *inode,struct file *file){ printk("pin4_open\n"); return 0;}static ssize_t Test_write(struct file *file,const char __user *buf,size_t count,loff_t *ppos){ printk("pin4_write\n"); return 0;}static struct file_operations pin4_fops ={ .owner=THIS_MODULE, .open= Test_open, .write=Test_write,}
使用static关键字是为了函数名冲突,谁都不能保证拥有一万多C文件的Linux内核中中会不会有名字冲突,所以 static很有必要。这个程序的功能会在内核环境打印相关信息。
2.编写初始化函数
#include#include #include #include #include #include #include static struct class *Test_class;static struct device *Test_dev;static dev_t devno; //device numblestatic int major=240; //major device numble static int minor=0; //minor device numblestatic char *module_name = "test";//device namestatic intTest_open(struct inode *inode,struct file *file){ printk("Test_open\n"); return 0;}static ssize_t Test_write(struct file *file,const char __user *buf,size_t count,loff_t *ppos){ printk("Test_write\n"); return 0;}static struct file_operations Test_fops ={ .owner=THIS_MODULE, .open=Test_open, .write=Test_write,}/* 初始化函数 */int __init Test_dev_init(void){ int ret; devno =MKDEV(major,minor); ret=register_chrdev(major,module_name,&Test_fops); //在驱动链表中注册驱动为字符设备 Test_class=class_create(THIS_MODULE,"Test_class");//创建类 Test_dev =device_create(pin4_class,NULL,devno,NULL,module_name);//创建驱动文件 return 0;}
3.编写剩下内容
void __exit Test_exit(void) { device_destroy(Test_class,devno); class_destroy(Test_class); unregister_chrdev(major,module_name);} module_init(Test_dev_init); module_exit(Test_exit); MODULE_LICENSE("GPL v2"); 二、驱动模块的编译
写好驱动之后需要把驱动文件放到内核文件的 /drivers/char/ 目录下,即字符设备文件夹:
cp Test.c /home/.../drivers/char/
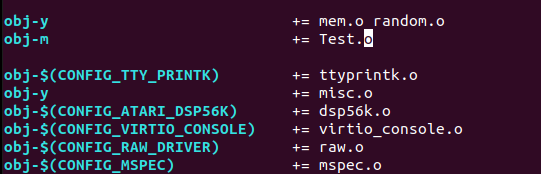
然后在内核文件的 /drivers/char/ 修改 Makefile 文件,添加:
obj-m += test.o //obj-m 即编译成模块,
ARCH=arm CROSS_COMPILE=arm-linux-gnueabihf- KERNEL=kernel7l make -j4 modules
一次性编译驱动模块:
然后根据提示修改错误,我这里提示36行附近少了分号 “;” ,结构体没加分号,修改后再次编译: 编译成功之后会在 /drivers/char/ 目录下生成一个以 .ko 为后缀的驱动模块文件,使用 scp 指令把这个 xxx.ko 驱动模块文件发送给树莓派: scp drivers/char/xxx.ko pi@/*树莓派的IP地址*/:/home/xxx//*树莓派的某个路径*/
三、驱动模块的安装
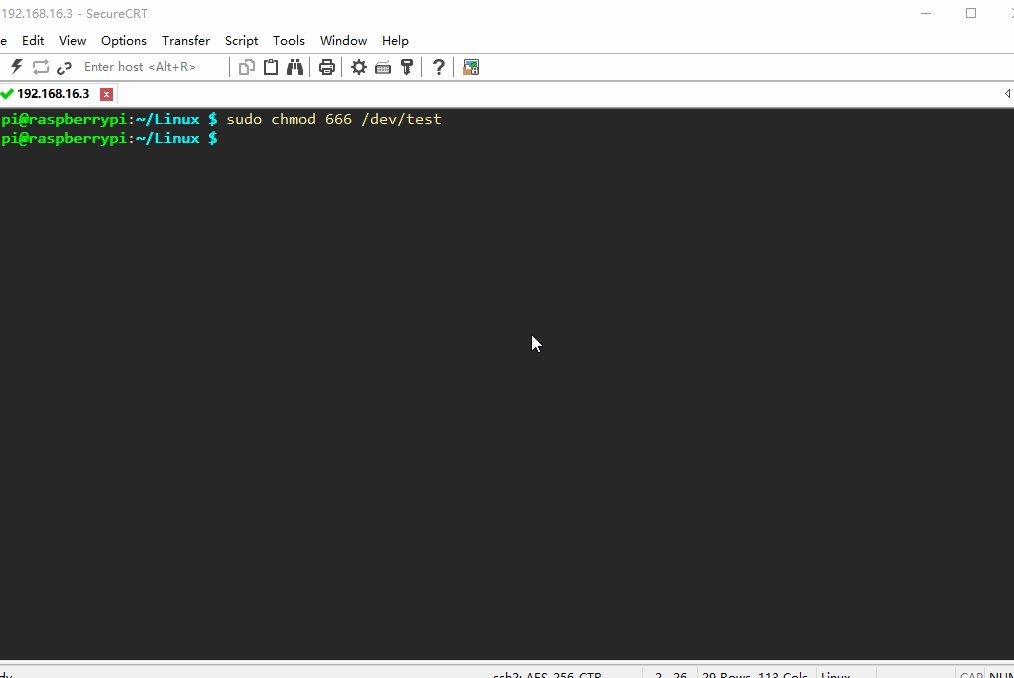
在树莓派里使用:
sudo insmod xxx.ko sudo chmod 666 /dev/xxx
安装驱动之后,给驱动添加权限,这样我们用户才能去使用这个驱动;
如果安装完后,使用 ls /dev/xxx 指令没有相关的模块的话,请检查驱动程序中创建类函数中的第二个是否都是小写字母: 注意:这个参数不能和其他模块有冲突;否则也会安装失败。可以 四、测试驱动
驱动的测试非常简单,我们只要写一个简单的程序去运行就可以:
测试程序代码:#include#include #include #include #include int main(){ int fd; int cmd=1; fd=open("/dev/test",O_RDWR); if(fd<0){ perror("reson"); return -1; } fd=write(fd,&cmd,sizeof(int)); return 0;}
dmesg
指令来查看内核的打印信息,驱动的安装错误提示也可以用该指令来查看,驱动的名字最好用小写字母来命名;
师承(某(dou)音)上官可编程发表评论
最新留言
不错!
[***.144.177.141]2025年04月18日 21时10分17秒
关于作者

喝酒易醉,品茶养心,人生如梦,品茶悟道,何以解忧?唯有杜康!
-- 愿君每日到此一游!
推荐文章
mcrypt加密以及解密过程
2019-03-06
go等待N个线程完成操作总结
2019-03-06
ReactJs入门教程-精华版
2019-03-06
Python 之网络式编程
2019-03-06
MySql5.5安装步骤及MySql_Front视图配置
2019-03-06
Java内存模型(JMM)
2019-03-06
AQS相关
2019-03-06
WCF学习之旅—第三个示例之一(二十七)
2019-03-06
java ThreadPoolExecutor初探
2019-03-06
快速指数算法
2019-03-06
python去除字符串中的特殊字符(爬虫存储数据时会遇到不能作为文件名的字符串)
2019-03-06
SpringCloud微服务(03):Hystrix组件,实现服务熔断
2019-03-06
Spring 框架基础(01):核心组件总结,基础环境搭建
2019-03-06
Cassandra数据建模
2019-03-06
Internet Explorer 10 专题上线
2019-03-06
云计算之路-阿里云上:0:25~0:40网络存储故障造成网站不能正常访问
2019-03-06
网站故障公告1:使用阿里云RDS之后一个让人欲哭无泪的下午
2019-03-06
上周热点回顾(6.3-6.9)
2019-03-06
白红宇的个人博客 - 记录点点滴滴的事 - 您是第 459584455 位访客