录音功能
发布日期:2021-05-07 17:59:03
浏览次数:11
分类:原创文章
本文共 1563 字,大约阅读时间需要 5 分钟。
写在前面:
录音功能并不像是音频播放那样原本就有音频源,他是由纯脚本构成
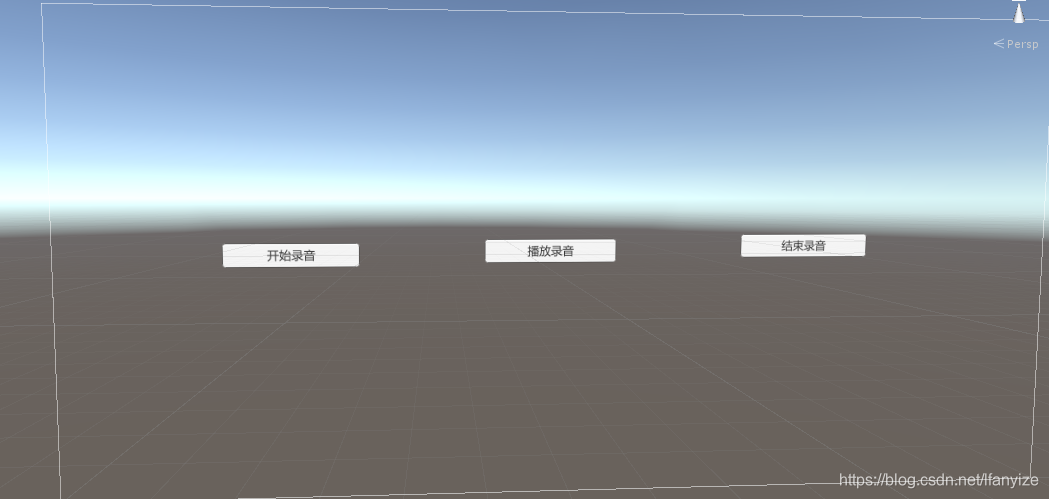
1.页面组成
简单的UI制作界面如下图
2.录音音频
直接创建一个AudioSource,但是不给他挂在音频文件
3.创建一个c#脚本,脚本内容如下
using UnityEngine;public class TestAudio : MonoBehaviour{ AudioSource aud;/// <summary> ///保存录音文件 /// </summary> // Start is called before the first frame update void Start() { foreach(string device in Microphone.devices) { Debug.Log("Name:" + device); } } // Update is called once per frame void Update() { } public void ButtonOnClick(int index) { if(index == 0) { aud = this.GetComponent<AudioSource>(); //如果传入的录音参数为0 aud.clip = Microphone.Start(Microphone.devices[0], true, 10, 44100);//开始录音 //参数代表的含义分别为1.目标设备的名称,是否循环录制,录制时间长短,录音品质需要注意的是 //无损音质的采样率=44100,即每秒音频用44100个float数据表示,但语音8000就够了(通常的移动电话=8000)。 } else if(index == 1)//如果传入的录音参数为1说明现在已经录音一段 { Microphone.End(Microphone.devices[0]); } else if(index == 2) { aud = this.GetComponent<AudioSource>(); aud.Play(); int min = 40000; int max = 44100; Debug.Log("播放状态" + IsRecording(Microphone.devices[0]));//输出当前的播放状态 Debug.Log("播放位置" + GetPosition(Microphone.devices[0]));//输出当前录音的位置 } } public bool IsRecording(string deviceName) { return IsRecording(deviceName); } public int GetPosition(string deviceName) { return GetPosition(deviceName); }}将脚本挂在到AudioSource上,为Button绑定上监听事件,发布到手机上,即可使用录音功能。
发表评论
最新留言
能坚持,总会有不一样的收获!
[***.219.124.196]2025年04月05日 09时20分00秒
关于作者

喝酒易醉,品茶养心,人生如梦,品茶悟道,何以解忧?唯有杜康!
-- 愿君每日到此一游!
推荐文章
限时开源!公布半小时下载量达10W:阿里大牛出品「MyCat笔记」
2019-03-04
阿里Java全线成长宝典,从P5到P8一应俱全
2019-03-04
js:虚拟dom与diff算法
2019-03-04
计算机系统原理——cachelab 实验1(第一周)
2019-03-04
JAVA初窥-DAY07
2019-03-04
数组--Go语言学习笔记
2019-03-04
Redis (三)——Linux 上安装 Redis
2019-03-04
c编程常见错误-函数声明没有参数类型声明
2019-03-04
Dialog篇
2019-03-04
概率论 贝叶斯公式
2019-03-04
数据挖掘 如何做 Python数据分析与挖掘实战
2019-03-04
java 重写(override)和重载(overload)区别
2019-03-04
java 多态
2019-03-04
java 多态类型转换
2019-03-04
java ==和equals
2019-03-04
java 接口(Interface)多态特性
2019-03-04
搜集整理随机产生人的姓名的2种方法
2019-03-04
最简单的Socket程序[入门篇]
2019-03-04
VS2005图标默认存放位置
2019-03-04
常用正则表达式
2019-03-04
白红宇的个人博客 - 记录点点滴滴的事 - 您是第 456550553 位访客