本文共 8299 字,大约阅读时间需要 27 分钟。
环境:
[root@localhost python3]# cat /etc/redhat-releaseCentOS Linux release 7.5.1804 (Core) [root@localhost python3]#
1、下载Python
方式一:
- 进入 选择相应版本下载之后用FTP工具上传到Linux上。
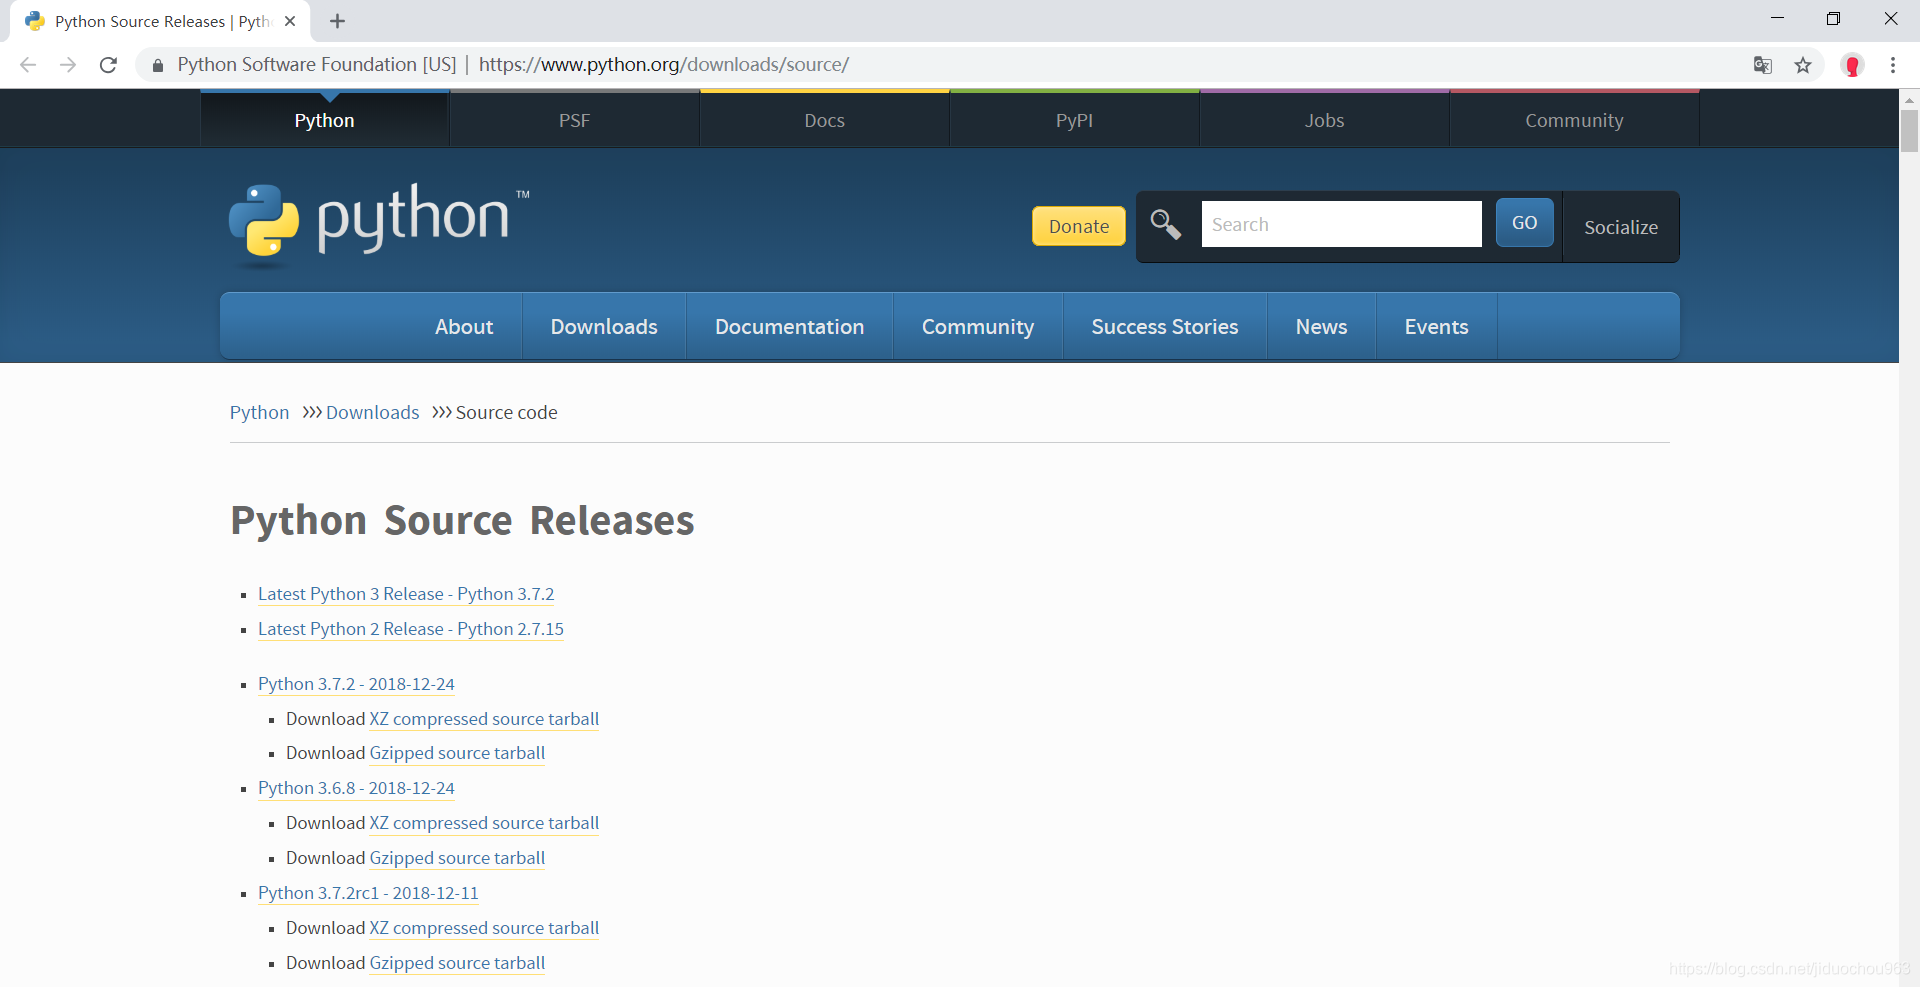
方式二:
-
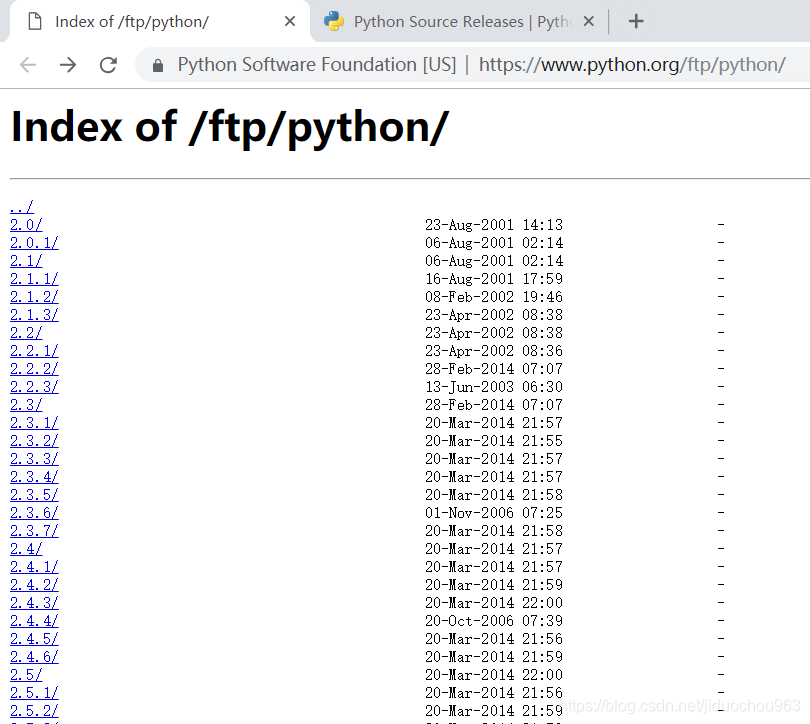
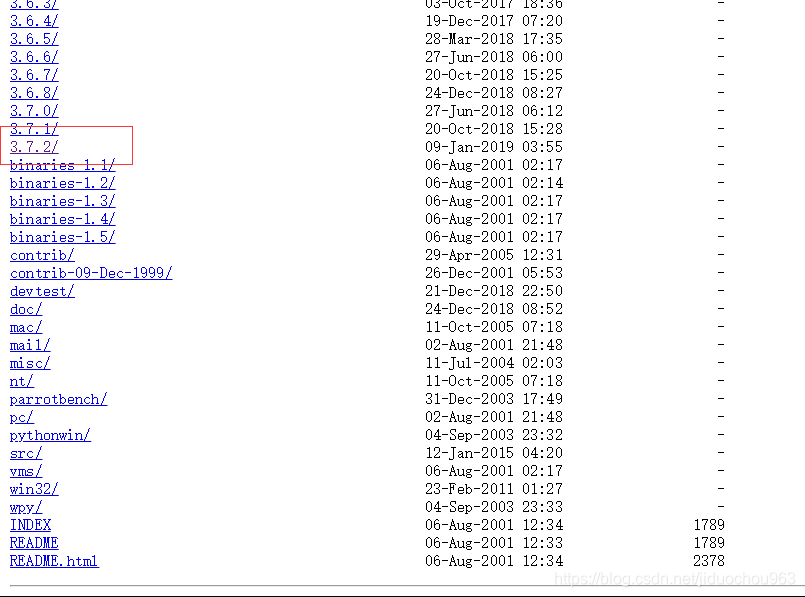
进入https://www.python.org/ftp/python/ 这里存放着所有版本的Python源码。往下拉看到最新版本3.7.2/,点击进入
 …
… 
-
看到Python-3.7.2.tgz
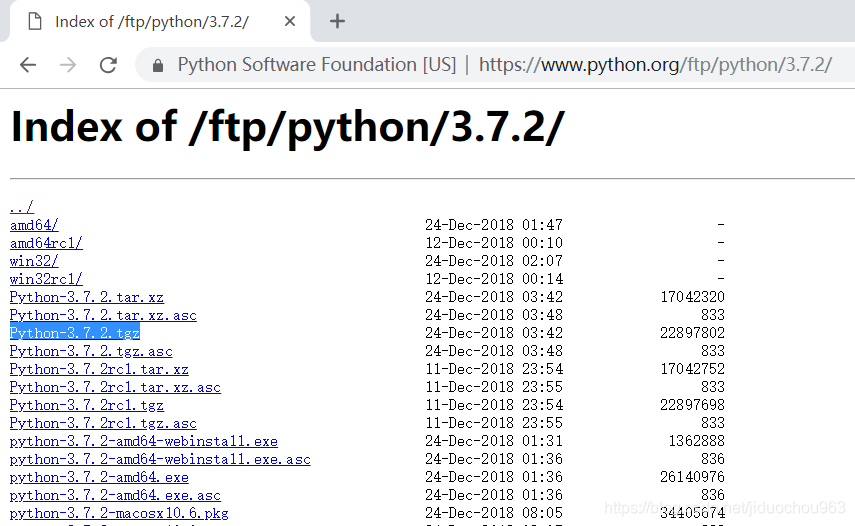
- 然后根据地址栏的链接拼接成如下链接:
我们回到Linux终端,开始下载Python3.7源码包:
这里需要新建一个文件夹/usr/local/src/以保存下载的源码包和待会解压之后的文件。 [root@localhost ~]# mkdir /usr/local/src # 如果存在请忽略[root@localhost ~]# cd /usr/local/src/[root@localhost src]# wget https://www.python.org/ftp/python/3.7.2/Python-3.7.2.tgz
2、下载完成后解压缩:
[root@localhost src]# ls -al | grep Python-rw-r--r-- 1 root root 22897802 12月 24 11:42 Python-3.7.2.tgz[root@localhost src]# tar -zxvf Python-3.7.2.tgz...[root@localhost src]# ls -al | grep Pythondrwxr-xr-x 18 501 501 4096 12月 24 11:41 Python-3.7.2-rw-r--r-- 1 root root 22897802 12月 24 11:42 Python-3.7.2.tgz[root@localhost src]#
注:请确认是否安装gcc,否则:
yum -y install gcc
3、 指定安装位置
更正时间:2019-3-24
检查是否安装openssl-devel,没安装请安装(原因详 ):
yum install -y openssl-devel
这里指定--with-ssl参数,原因详 :
./configure --prefix=/usr/local/python3 --with-ssl
./configure --prefix=安装路径,这里建议安装在/usr/local/python3下面,即:
[root@localhost Python-3.7.2]# cd Python-3.7.2/[root@localhost Python-3.7.2]# ./configure --prefix=/usr/local/python3
4、编译
编译之前请确认是否安装安装 readline 相关模块。readline 是 bash shell 用的库,包含许多使用功能,例如:命令行自动补全。
yum -y install readline readline-devel 请确认是否有zlib的相关工具包,否则:
zipimport.ZipImportError: can't decompress data; zlib not available
所以,安装zlib:
yum -y install zlib*
上述操作完成之后,开始编译:
make编译 [root@localhost Python-3.7.2]# make
编译时间取决于硬件配置,耐心等待。
5、安装
注:请确认是否有libffi-devel(原因详下),否则安装:
yum -y install libffi-devel
make install 编译安装
[root@localhost Python-3.7.2]# make install
如果安装出现异常ModuleNotFoundError: No module named '_ctypes',不要慌,这是因为在安装Python3.7以上版本时,需要一个新的libffi-devel包做依赖,执行命令安装:
yum -y install libffi-devel
安装完成后,重新执行make install即可。
Looking in links: /tmp/tmpea1pr1kbCollecting setuptoolsCollecting pipInstalling collected packages: setuptools, pipSuccessfully installed pip-18.1 setuptools-40.6.2[root@localhost Python-3.7.2]#
6、启动
如果没有异常,则启动Python3.7测试一下是否安装成功:
启动位置:/usr/local/python3/bin/python3 [root@localhost Python-3.7.2]# cd ~[root@localhost ~]# ls -al /usr/local/python3/总用量 0drwxr-xr-x 6 root root 56 1月 29 19:53 .drwxr-xr-x. 19 root root 222 1月 29 19:53 ..drwxr-xr-x 2 root root 295 1月 29 19:53 bindrwxr-xr-x 3 root root 24 1月 29 19:53 includedrwxr-xr-x 4 root root 63 1月 29 19:53 libdrwxr-xr-x 3 root root 17 1月 29 19:53 share[root@localhost ~]# /usr/local/python3/bin/ppip3 pydoc3 python3 python3.7-config python3.7m-config pyvenv pip3.7 pydoc3.7 python3.7 python3.7m python3-config pyvenv-3.7 [root@localhost ~]# /usr/local/python3/bin/python3Python 3.7.2 (default, Jan 29 2019, 19:48:46) [GCC 4.8.5 20150623 (Red Hat 4.8.5-28)] on linuxType "help", "copyright", "credits" or "license" for more information.>>> exit()[root@localhost ~]# /usr/local/python3/bin/python3.7Python 3.7.2 (default, Jan 29 2019, 19:48:46) [GCC 4.8.5 20150623 (Red Hat 4.8.5-28)] on linuxType "help", "copyright", "credits" or "license" for more information.>>> exit() [root@localhost ~]#
7、快速启动
- 方法一:生成Python3的软链接
在/usr/bin路径下生成Python3的软链接:ln -s /usr/local/python3/bin/python3 /usr/bin/python3
[root@localhost ~]# rm -rf /usr/bin/python3[root@localhost ~]# ln -s /usr/local/python3/bin/python3 /usr/bin/python3[root@localhost ~]# python3Python 3.7.2 (default, Jan 29 2019, 19:48:46) [GCC 4.8.5 20150623 (Red Hat 4.8.5-28)] on linuxType "help", "copyright", "credits" or "license" for more information.>>> exit()[root@localhost ~]#
详细:
- 方法二:更改别名
为使Python3和pip正常使用,请修改文件~.bashrc文件——指明pip3和python3的别名。
alias python3='/usr/local/python3/bin/python3.7'alias pip3='/usr/local/python3/bin/pip3'
如果不想默认使用Python2环境,请直接将其替换,配置如下:
alias python='/usr/local/python3/bin/python3.7'alias pip='/usr/local/python3/bin/pip3.7'
详细过程如下:
[root@localhost bin]# cd ~[root@localhost ~]# ls -al /usr/local/python3/bin/ 总用量 27336drwxr-xr-x 2 root root 295 1月 30 12:27 .drwxr-xr-x 6 root root 56 1月 30 12:27 ..lrwxrwxrwx 1 root root 8 1月 30 12:27 2to3 -> 2to3-3.7-rwxr-xr-x 1 root root 109 1月 30 12:27 2to3-3.7-rwxr-xr-x 1 root root 250 1月 30 12:27 easy_install-3.7lrwxrwxrwx 1 root root 7 1月 30 12:27 idle3 -> idle3.7-rwxr-xr-x 1 root root 107 1月 30 12:27 idle3.7-rwxr-xr-x 1 root root 232 1月 30 12:27 pip3-rwxr-xr-x 1 root root 232 1月 30 12:27 pip3.7lrwxrwxrwx 1 root root 8 1月 30 12:27 pydoc3 -> pydoc3.7-rwxr-xr-x 1 root root 92 1月 30 12:27 pydoc3.7lrwxrwxrwx 1 root root 9 1月 30 12:27 python3 -> python3.7-rwxr-xr-x 2 root root 13979352 1月 30 12:27 python3.7lrwxrwxrwx 1 root root 17 1月 30 12:27 python3.7-config -> python3.7m-config-rwxr-xr-x 2 root root 13979352 1月 30 12:27 python3.7m-rwxr-xr-x 1 root root 3105 1月 30 12:27 python3.7m-configlrwxrwxrwx 1 root root 16 1月 30 12:27 python3-config -> python3.7-configlrwxrwxrwx 1 root root 10 1月 30 12:27 pyvenv -> pyvenv-3.7-rwxr-xr-x 1 root root 449 1月 30 12:27 pyvenv-3.7[root@localhost ~]# cat .bashrc # .bashrc# User specific aliases and functions...[root@localhost ~]# vim .bashrc # .bashrc# User specific aliases and functions...alias python3='/usr/local/python3/bin/python3.7'alias pip3='/usr/local/python3/bin/pip3' :wq[root@localhost ~]# cat .bashrc # .bashrc# User specific aliases and functions...alias python3='/usr/local/python3/bin/python3.7'alias pip3='/usr/local/python3/bin/pip3'[root@localhost ~]#
测试pip:不要忘记source编译
[root@localhost ~]# pip3bash: pip3: 未找到命令...[root@localhost ~]# source ~/.bashrc [root@localhost ~]# pip3Usage: pip3[options]Commands: install Install packages. download Download packages. uninstall Uninstall packages. freeze Output installed packages in requirements format. list List installed packages. show Show information about installed packages. check Verify installed packages have compatible dependencies. config Manage local and global configuration. search Search PyPI for packages. wheel Build wheels from your requirements. hash Compute hashes of package archives. completion A helper command used for command completion. help Show help for commands.General Options: -h, --help Show help. --isolated Run pip in an isolated mode, ignoring environment variables and user configuration. -v, --verbose Give more output. Option is additive, and can be used up to 3 times. -V, --version Show version and exit. -q, --quiet Give less output. Option is additive, and can be used up to 3 times (corresponding to WARNING, ERROR, and CRITICAL logging levels). --log Path to a verbose appending log. --proxy Specify a proxy in the form [user:passwd@]proxy.server:port. --retries Maximum number of retries each connection should attempt (default 5 times). --timeout Set the socket timeout (default 15 seconds). --exists-action Default action when a path already exists: (s)witch, (i)gnore, (w)ipe, (b)ackup, (a)bort). --trusted-host Mark this host as trusted, even though it does not have valid or any HTTPS. --cert Path to alternate CA bundle. --client-cert Path to SSL client certificate, a single file containing the private key and the certificate in PEM format. --cache-dir Store the cache data in . --no-cache-dir Disable the cache. --disable-pip-version-check Don't periodically check PyPI to determine whether a new version of pip is available for download. Implied with --no-index. --no-color Suppress colored output[root@localhost ~]#
转载地址:https://onefine.blog.csdn.net/article/details/86694775 如侵犯您的版权,请留言回复原文章的地址,我们会给您删除此文章,给您带来不便请您谅解!
发表评论
最新留言
关于作者
