本文共 4192 字,大约阅读时间需要 13 分钟。
uniCloud云数据库基础
我们的视频教程(免费)链接为
云开发基础 文档地址
未经本人允许,禁止转载

云数据库基础
可以看到官方给出了两种方式

云函数操作数据库(腾讯云服务空间)
这里我们注意讲腾讯云服务空间操作
首先需要创建服务空间
 免费版即可
免费版即可 创建数据表
两种方式 网页创建 /api创建
手动创建

 可以使用模板创建 这里我们不使用模板
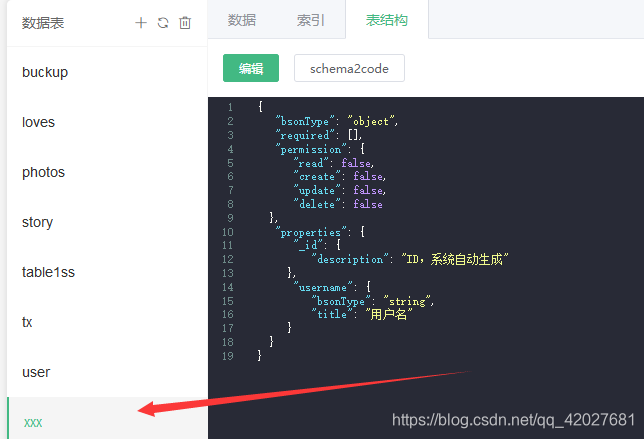
 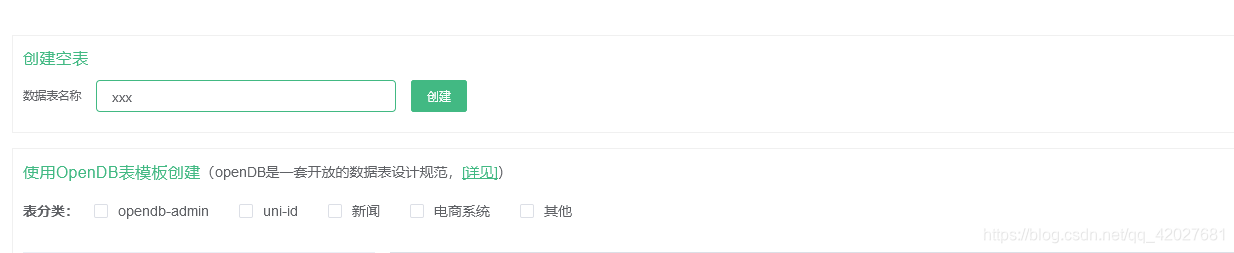 你可以编辑设置表结构 也可设置索引
 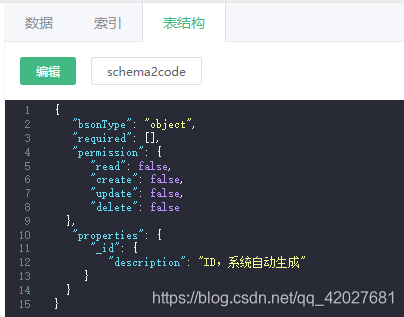 表结构字段 说明 参考文档
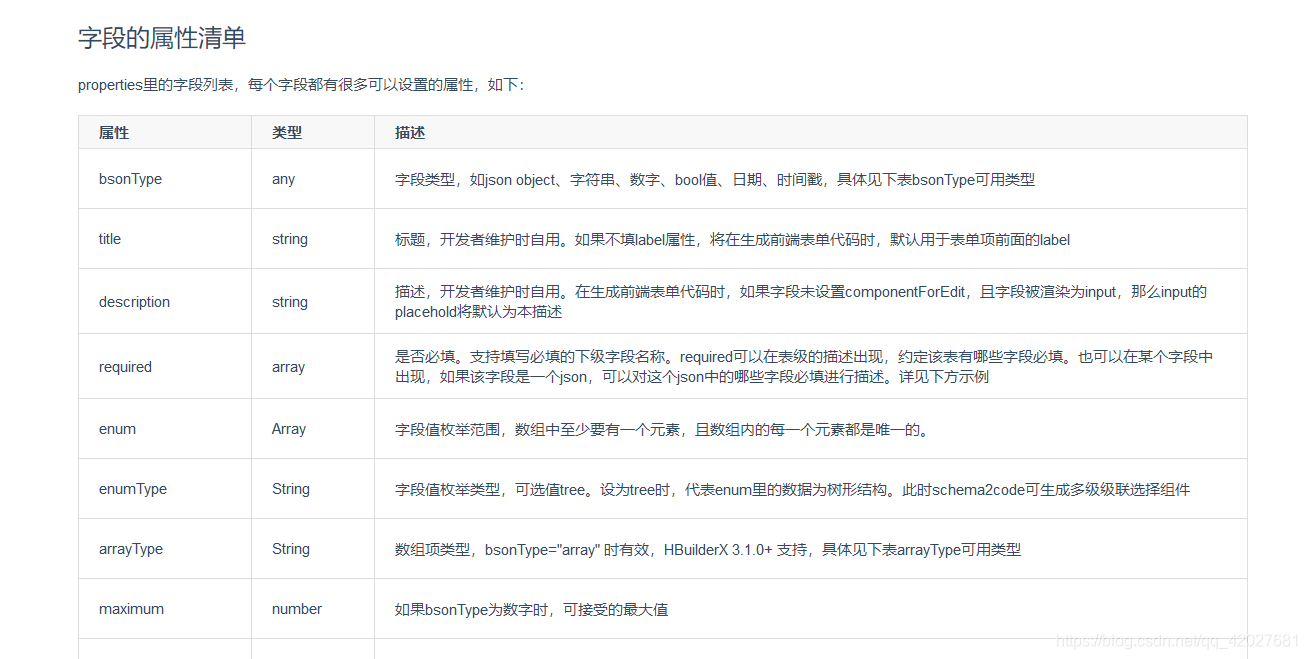
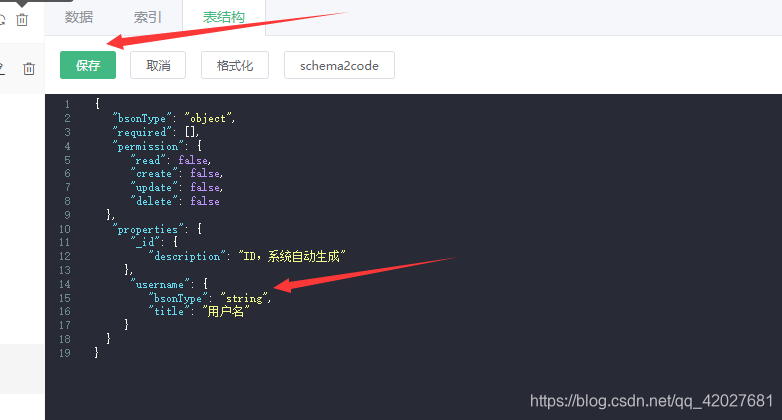
向表中插入一个字段
api创建
const db = uniCloud.database();db.createCollection("xxxx") 云函数中
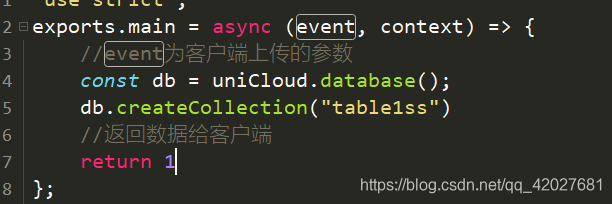 本地执行就行 执行效果
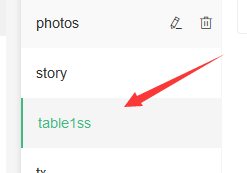
操作数据库
文档地址无论是整个数据表 还是单个记录 都是要经过以下流程
先获取集合的引用 整个集合的引用 const db = uniCloud.database(); // 获取xxx集合的引用 const collection = db.collection(‘xxx’);单个记录的引用
collection.doc(“id”)
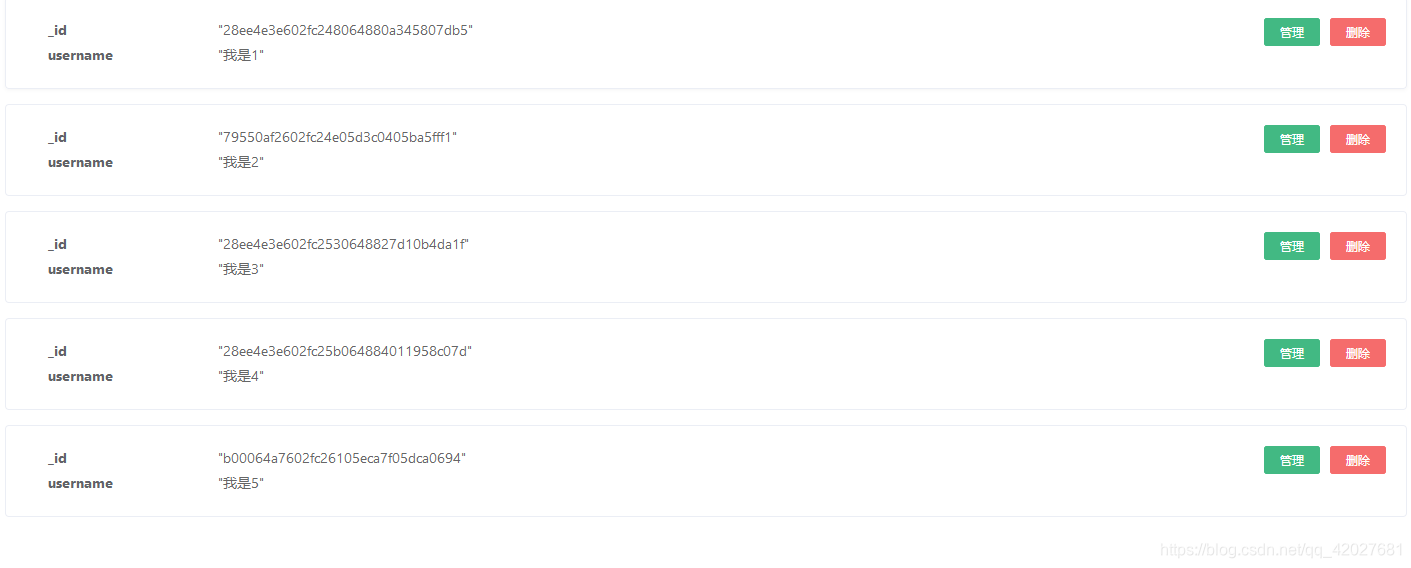
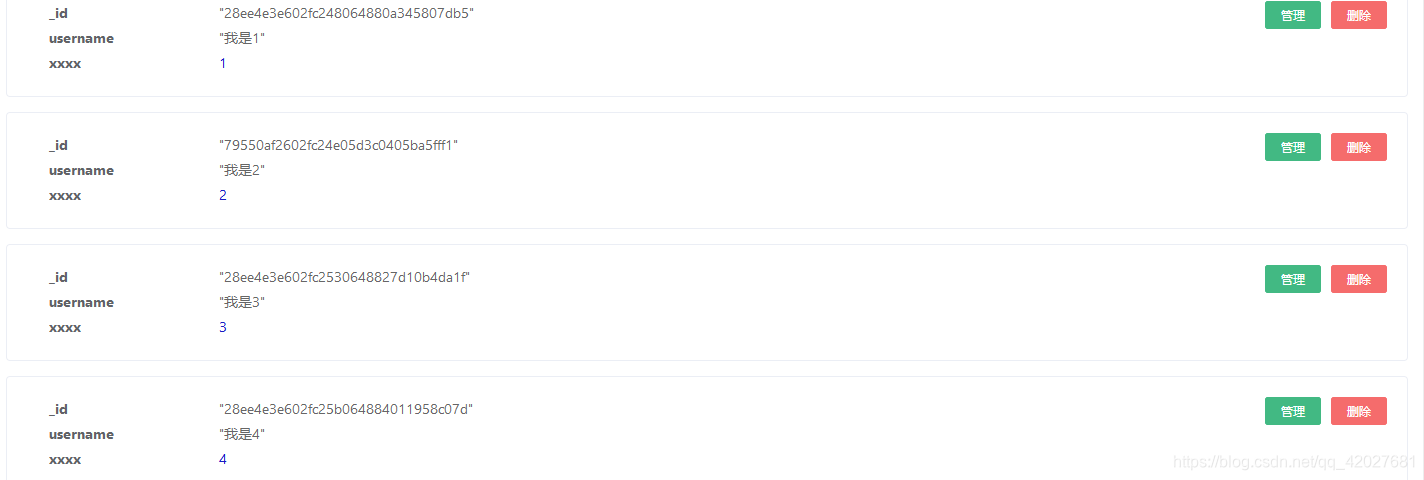
我们以这个数据表为例
 目前没有数据
连接数据库 获取数据表引用
const db = uniCloud.database();// 获取 `xxx` 集合的引用const collection = db.collection('xxx'); 增加
let res = await collection.add({ username:"dmhsq"})console.log(res) 
 可以看到增加成功了
统计记录个数
let res = await collection.count()console.log(res)

获取全部记录
let res = await collection.get()console.log(res)

获取指定id的记录
比如这里我拿到
 id 28ee4e3e602fb13c064475431a7966e7
 引用指定记录(可进行 获取 更新 等操作)
let res = await collection.doc("28ee4e3e602fb13c064475431a7966e7")console.log(res) 返回proxy代理对象

获取
let res = await collection.doc("28ee4e3e602fb13c064475431a7966e7").get()console.log(res) 
增加查询条件
我们使用where来操作
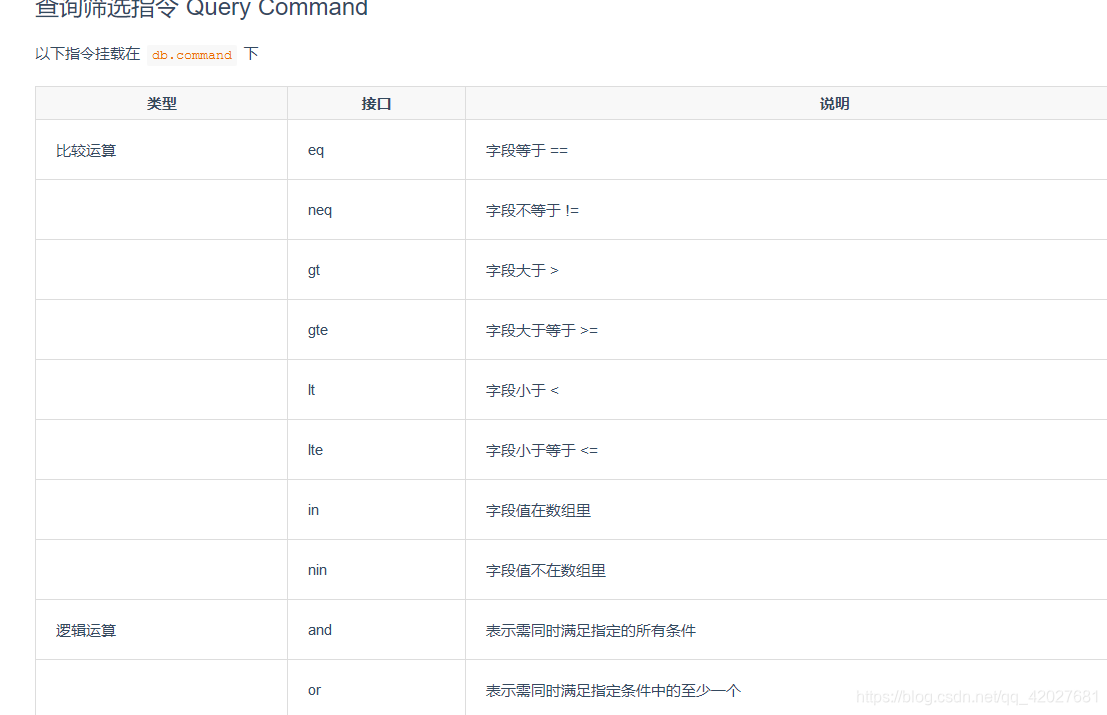
格式为collection.where({ username: "匹配的值" 可以使用> < 什么的}) 如果使用指令 则为
const dbCmd = db.commandlet res = await collection.where({ username:dbCmd.eq("匹配的值")}).get() 文档 指令表
比如我们查询username为dmhsq的记录
collection.where({ userename:"dmhsq"})或者 指令方式const dbCmd = db.commandlet res = await collection.where({ username:dbCmd.eq("dmhsq")}) 获取
let res = await collection.where({ userename:"dmhsq"}).get()或者const dbCmd = db.commandlet res = await collection.where({ username:dbCmd.eq("dmhsq")}).get()console.log(res) 
分页
为了方便观察 这里我把dmhsq删除 新增了5个数据
跳过指定数量记录数
这里的num 为跳过指定数量的记录
如果有5个数据 为0就是获取5个 为1就是获取4个 为了方便观察 在云端运行collection.skip(num)
获取数据
我们传入0
let res = await collection.skip(0).get()console.log(res)

传入1
let res = await collection.skip(1).get()console.log(res)

返回的结果集(文档数量)的限制
num为返回的个数限制 最多为num个
collection.limit(num)
这里我们设置为2
let res = await collection.limit(2).get()console.log(res)

实现分页
逻辑如下
获取第二页 就跳过第一页的全部let pages = event.p; //页数let nums = event.n; //每页个数let res = await collection.skip((pages-1)*nums).limit(nums).get()console.log("当前页数为"+pages)console.log(res) 我们设定每页两个
配置 右键点击云函数目录 选择配置运行测试参数 我们传入 p=1 n=2
 // 本文件中的json内容将在云函数【运行】时作为参数传给云函数。// 配置教程参考:https://uniapp.dcloud.net.cn/uniCloud/quickstart?id=runparam{ "p":1, "n":2} 
 如果我们让p=1 n=4 或者p=2 n=4 也就是每页 4个 返回第一页和第二页
 分页完成
分页完成 排序
collection.orderBy("字段名","升序/降序").get()升序为asc降序desc 升序
collection.orderBy("username","asc").get() 
降序
collection.orderBy("username","desc").get() 
指定需要返回的字段
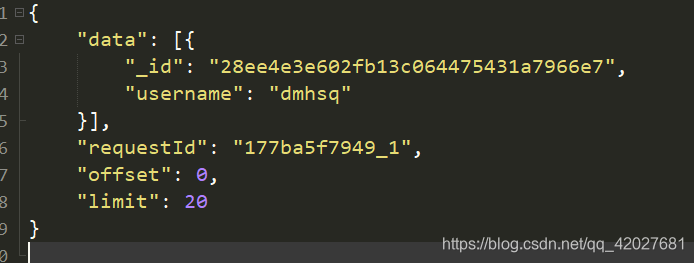
这里我们只返回_id字段
collection.field({ "_id":true}) let res = await collection.field({ "_id":true}).get()console.log(res) 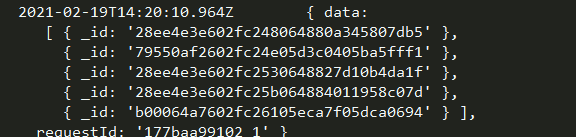
在field中
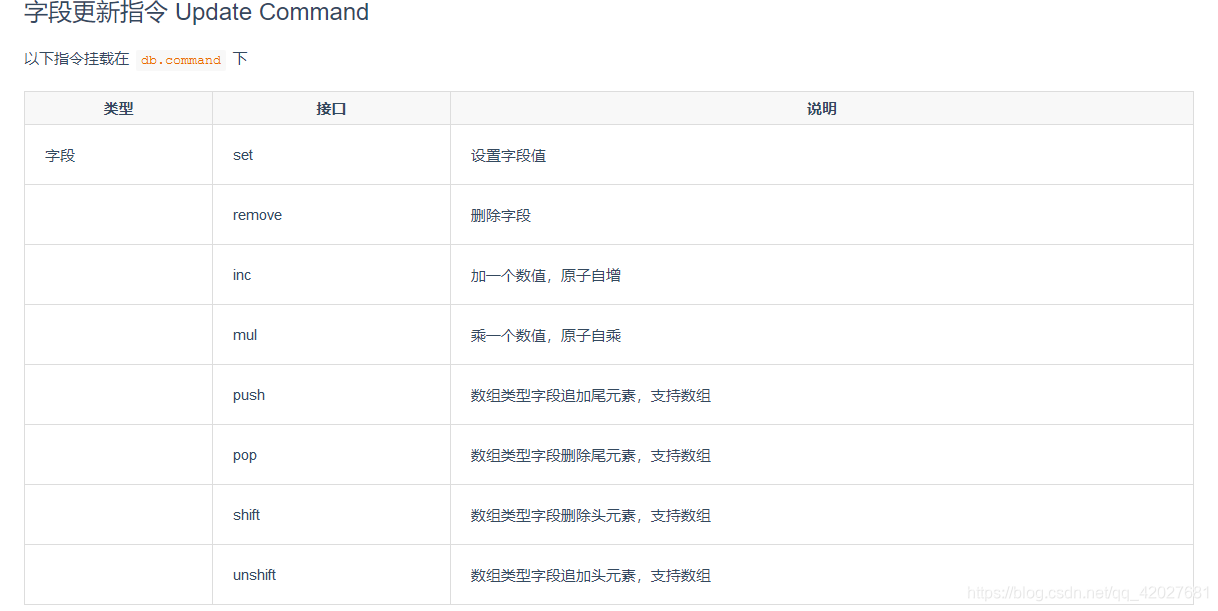
指定某字段不返回 “字段名”:false 指定只返回某字段 “字段名”:true字段更新指令
参考文档
获取指定记录引用
这里以 username为 我是4为例
collection.where({ username:"我是4"}) 设置字段值
我们给数据表新增一个字段
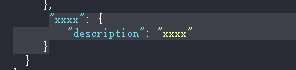
只更新
使用update
collection.where({ username:"我是4"}).update({ username:"我是猪"}) 
updated是更新的条数 这里的updated为1 我们更新了一条数据所以为1


更新如果没有就新建(覆盖式)
collection.doc('_id字段的值').set({ username:"我是4"}) 可能是为了防止随意覆盖或安全什么的 使用where并不能使用set 所以使用doc获取
可以打印下 where 和 doc 获取的对象有什么不同collection.doc('_id字段的值')collection.where(字段名:'字段的值') 
 可以发现 这里每xxxx字段了
更多更新指令 参考文档
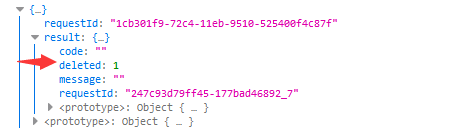
删除
来删除
collection.where({ xxxx:5}).remove() 


前端直接操作
和云函数操作没有多少区别 只是 需要放通权限
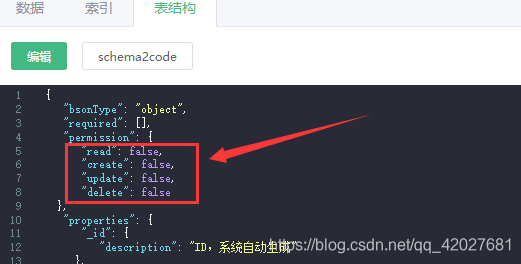
我们只举几个例子 其他的可参考云函数写法 或者文档放开权限
放通操作权限 可根据需求 这里我全部放开
获取数据
const db = uniCloud.database()let res = db.collection('xxx').get().then(res => { console.log(res)}) 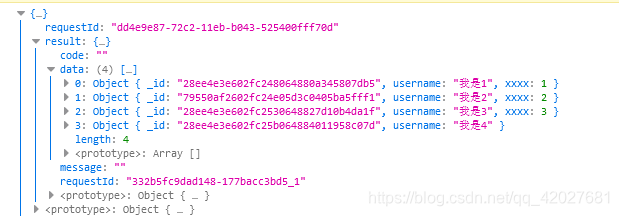
增加
const db = uniCloud.database()let res = db.collection('xxx').add({ username: "我是dmhsq"}).then(res => { console.log(res)}) 
统计个数
const db = uniCloud.database()let res = db.collection('xxx').count().then(res => { console.log(res)}) 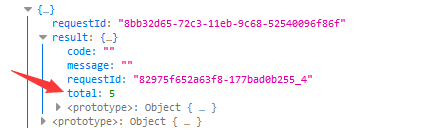
更新
const db = uniCloud.database()let res = db.collection('xxx').where({ username: "我是1"}).update({ username: "小可爱1"}).then(res => { console.log(res)}) 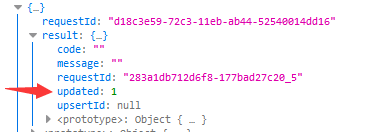

删除
const db = uniCloud.database()let res = db.collection('xxx').where({ username: "小可爱1"}).remove().then(res => { console.log(res)}) 

其它请参考上面的云函数写法
感谢您的阅读
大学之道亦在自身,努力学习,热血青春如果对编程感兴趣可以加入我们的qq群一起交流:974178910
大家好,我是代码哈士奇,是一名软件学院网络工程的学生,因为我是“狗”,狗走千里吃肉。想把大学期间学的东西和大家分享,和大家一起进步。但由于水平有限,博客中难免会有一些错误出现,有纰漏之处恳请各位大佬不吝赐教!,博客主页:。
腾讯云社区专栏
未经本人允许,禁止转载
有问题可以下方留言,看到了会回复哦
转载地址:https://dmhsq.blog.csdn.net/article/details/113855441 如侵犯您的版权,请留言回复原文章的地址,我们会给您删除此文章,给您带来不便请您谅解!
发表评论
最新留言
关于作者
