本文共 4770 字,大约阅读时间需要 15 分钟。
Lesson 37 动手实现 React-redux(二):结合 context 和 store
既然要把 store 和 context 结合起来,我们就先构建 store。在 src/index.js 加入之前创建的 createStore 函数,并且构建一个 themeReducer 来生成一个 store:
import React, { Component } from 'react'import PropTypes from 'prop-types'import ReactDOM from 'react-dom'import Header from './Header'import Content from './Content'import './index.css'function createStore (reducer) { let state = null const listeners = [] const subscribe = (listener) => listeners.push(listener) const getState = () => state const dispatch = (action) => { state = reducer(state, action) listeners.forEach((listener) => listener()) } dispatch({ }) // 初始化 state return { getState, dispatch, subscribe }}const themeReducer = (state, action) => { if (!state) return { themeColor: 'red' } switch (action.type) { case 'CHANGE_COLOR': return { ...state, themeColor: action.themeColor } default: return state }}const store = createStore(themeReducer)... themeReducer 定义了一个表示主题色的状态 themeColor,并且规定了一种操作 CHNAGE_COLOR,只能通过这种操作修改颜色。现在我们把 store 放到 Index 的 context 里面,这样每个子组件都可以获取到 store 了,修改 src/index.js 里面的 Index:
class Index extends Component { static childContextTypes = { store: PropTypes.object } getChildContext () { return { store } } render () { return ( 如果有些同学已经忘记了 context 的用法,可以参考之前的章节: 。
然后修改 src/Header.js,让它从 Index 的 context 里面获取 store,并且获取里面的 themeColor 状态来设置自己的颜色:
class Header extends Component { static contextTypes = { store: PropTypes.object } constructor () { super() this.state = { themeColor: '' } } componentWillMount () { this._updateThemeColor() } _updateThemeColor () { const { store } = this.context const state = store.getState() this.setState({ themeColor: state.themeColor }) } render () { return ( React.js 小书
) }} 其实也很简单,我们在 constructor 里面初始化了组件自己的 themeColor 状态。然后在生命周期中 componentWillMount 调用 _updateThemeColor,_updateThemeColor 会从 context 里面把 store 取出来,然后通过 store.getState() 获取状态对象,并且用里面的 themeColor 字段设置组件的 state.themeColor。
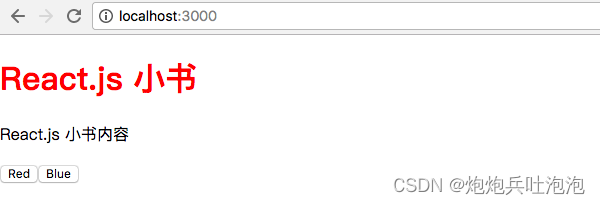
然后在 render 函数里面获取了 state.themeColor 来设置标题的样式,页面上就会显示:
如法炮制 Content.js:
class Content extends Component { static contextTypes = { store: PropTypes.object } constructor () { super() this.state = { themeColor: '' } } componentWillMount () { this._updateThemeColor() } _updateThemeColor () { const { store } = this.context const state = store.getState() this.setState({ themeColor: state.themeColor }) } render () { return ( React.js 小书内容
还有 src/ThemeSwitch.js:
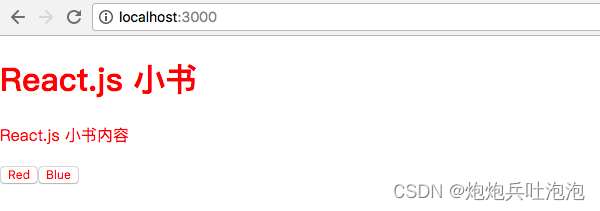
class ThemeSwitch extends Component { static contextTypes = { store: PropTypes.object } constructor () { super() this.state = { themeColor: '' } } componentWillMount () { this._updateThemeColor() } _updateThemeColor () { const { store } = this.context const state = store.getState() this.setState({ themeColor: state.themeColor }) } render () { return ( ) }} 这时候,主题已经完全生效了,整个页面都是红色的:
当然现在点按钮还是没什么效果,我们接下来给按钮添加事件。其实也很简单,监听 onClick 事件然后 store.dispatch 一个 action 就好了,修改 src/ThemeSwitch.js:
class ThemeSwitch extends Component { static contextTypes = { store: PropTypes.object } constructor () { super() this.state = { themeColor: '' } } componentWillMount () { this._updateThemeColor() } _updateThemeColor () { const { store } = this.context const state = store.getState() this.setState({ themeColor: state.themeColor }) } // dispatch action 去改变颜色 handleSwitchColor (color) { const { store } = this.context store.dispatch({ type: 'CHANGE_COLOR', themeColor: color }) } render () { return ( ) }} 我们给两个按钮都加上了 onClick 事件监听,并绑定到了 handleSwitchColor 方法上,两个按钮分别给这个方法传入不同的颜色 red 和 blue,handleSwitchColor 会根据传入的颜色 store.dispatch 一个 action 去修改颜色。
当然你现在点击按钮还是没有反应的。因为点击按钮的时候,只是更新 store 里面的 state,而并没有在 store.state 更新以后去重新渲染数据,我们其实就是忘了 store.subscribe 了。
给 Header.js、Content.js、ThemeSwitch.js 的 componentWillMount 生命周期都加上监听数据变化重新渲染的代码:
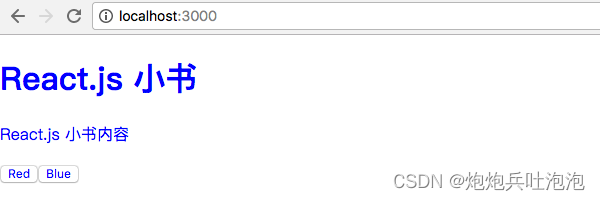
... componentWillMount () { const { store } = this.context this._updateThemeColor() store.subscribe(() => this._updateThemeColor()) }... 通过 store.subscribe,在数据变化的时候重新调用 _updateThemeColor,而 _updateThemeColor 会去 store 里面取最新的 themeColor 然后通过 setState 重新渲染组件,这时候组件就更新了。现在可以自由切换主题色了:
我们顺利地把 store 和 context 结合起来,这是 Redux 和 React.js 的第一次胜利会师,当然还有很多需要优化的地方。
当前内容版权归 或其关联方所有,如需对内容或内容相关联开源项目进行关注与资助,请点击 .
最初的起点:
上一篇:
下一篇:
转载地址:https://blog.csdn.net/Mr_zzr/article/details/125797947 如侵犯您的版权,请留言回复原文章的地址,我们会给您删除此文章,给您带来不便请您谅解!
发表评论
最新留言
关于作者
